Tutorials
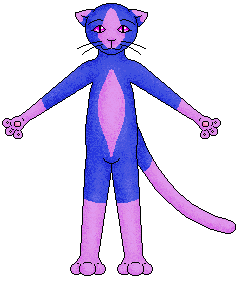
This is the same picture I did a drawing tutorial on ^_^ Completely done in MSPaint, even the coloring and shading. I did, however, use another free program to convert it to a Gif and give it a transparent background. It's not impossible to shade and color in MSPaint ^_^ You just need to know a little about what you're doing.
First of all, you need to start with a picture. Open up MSPaint, and then go to File > Open and find the picture you want to open. I'll be using the one I drew in the MSPaint drawing tutorial ^_^ From there, use the fill tool to fill in the base fur color. I chose a sapphire blue ^_^ If you want a different color than the ones that are there, go to Colors > Edit colors, and then click on Define custom colors and pick the color that you want.
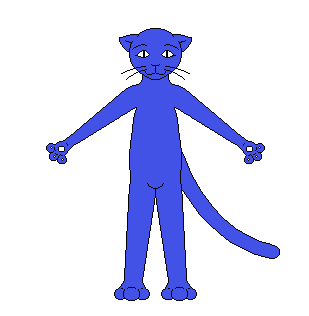
Next, select the whole picture and copy it, then make sure the base fur color is selected for both the first and second color choices, and click on the selectiontool (if you aren't already on that) Look down under the tools to the two pictures there, with the square, circle and cylinder, and make sure the second one is clicked on. This makes sure you paste as transparent (as in your second color choice doesn't show up when you paste) ^_^ Now, if you'd like, you can pick another color and draw on markings or a pattern with the pencil tool. I did a siamese kitty pattern here ^_^ Don't worry about drawing over or going out of the lines, because you can always fix that. Once you have the patterns draw, fill them in with the fill tool. Now, with that all done, paste what you copied earlier and move it so that it fits into place on the picture.
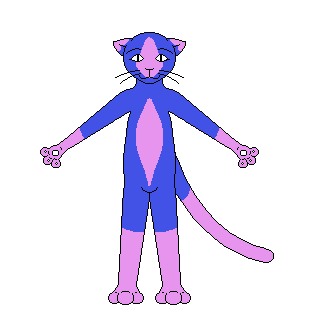
Once you have that done, make sure you select the whole picture and copy again ^_^ You want to do this any time you make a change. Otherwise, you may ruin your picture beyond saving. So be careful! Don't, however, select and copy when your picture is messy and has lines and things where you don't want them. That's just as bad!
Right, onto shading ^_^ Pick your base color (my base color is the blue in this picture ^_^) and then go to Colors> Edit colors > Define custom colors, and slide the little arrow down just a little on the bar on the right. Not too much, mind, ot the picture will end up looking blocky and unfinished. Once you do that, get out the airbrush and brush on the shading (if you want to know more about shading and highlighting, check out the tutorial ^_^). Remember, you don't have to be afraid of going out of the lines.
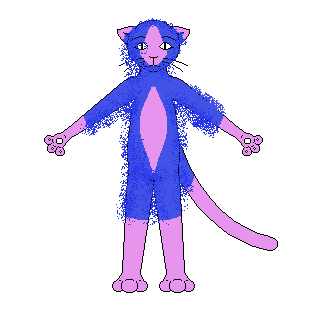
Once you're satisfied with the shading, go ahead and paste and move it into place. Starting to look nice, huh? Well, we've still a ways more to go ^_^ You don't have to select and copy again, don't worry, because you're still working on the main base color.
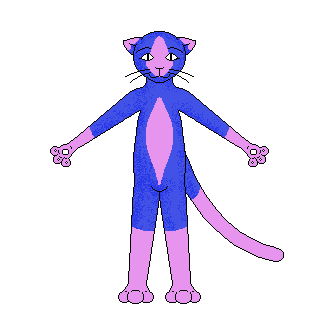
Ok, now, just go and edit your colors again and select a color just a little bit darker still. Add the darker shading inside the first color of shading, but make sure not to add too much, or it'll look kind of silly. Once you think it looks good, then paste again and move it into place ^_^ Again, don't select and copy, because you're still working on the base color ^_^; Ok, I take back what I said earlier. Only select and copy when you move onto a different section or color. When I decide I want to move onto the pink, then I'll select and copy, but not before I'm done on the blue. Make sense? :D I hope so.
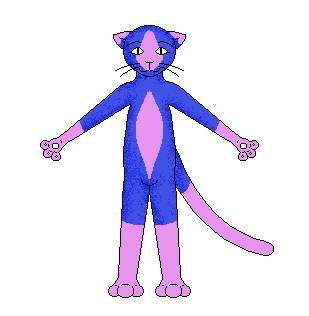
Now, select your original base color again, and go to edit your color. This time, instead of making the the arrow go down a little, make it go up a little for the highlighting ^_^ Remember, just a little so it doesn't look too contrasty and blocky. Do the same thing you did for the shading, and lightly airbrush where the light is on the critter the most. If you need to, you can just click spots of color instead of drawing a line. I need to do that sometimes, too, because drawing a line makes the color too close together, and really blocky looking. If you need to once you're done, go ahead and paste and move it into position ^_^ Almost done with the blue.
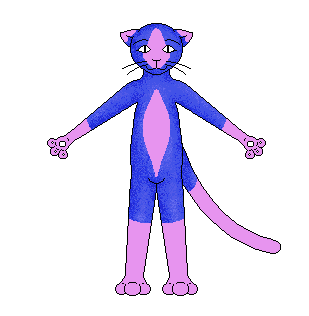
Go to edit your colors again, and push the arrow up just a little further. now add a little bit of a lighter highlighting where you thing it needs it, and past if you have to. Now select and copy the whole picture and make the marking color as both of your color choices ^_^
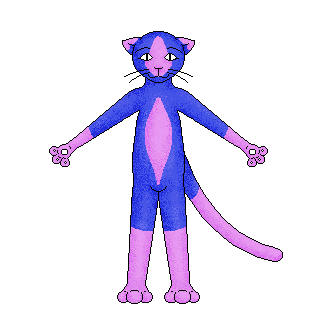
Now, just do the same thing for the pink as you did for the blue, and past when ever you're finished ^_^ Now really that hard once you get the hang of it, huh?
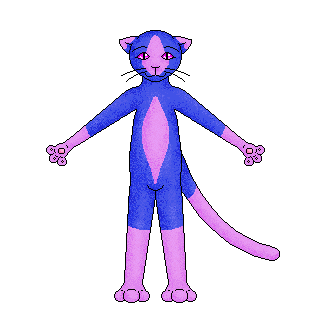
From here, you can add the finishing touches. Eyes, paw pads, and anything else that needs to be fixed up before you save the picture ^_^ Make sure you make the background a good, bright color that you haven't already used in the picture, like the red down at the bottom of the MSPaint window, then save. Once you do that, you can reopen the picture in a program that converts to GIF formats and makes transparent backgrounds ^_^ (check out my links page if you don't have anything that can do that for you)


This site has been visited