Tutorials
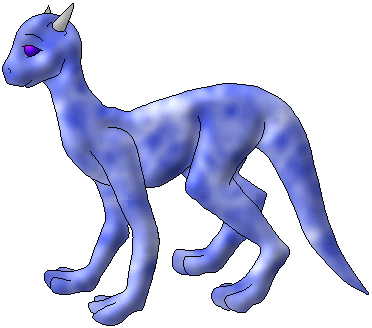
This is just the PSP version of the easy shading tutorial ^_^ It's basically the same thing as the PS version, so I'll keep it short and sweet!
You want to start with the nice, solid outline. If you're using gif images, make sure that you click on Colors > Increase Color Depth > 16 million colors (24 bit) or else the colors aren't going to look right.
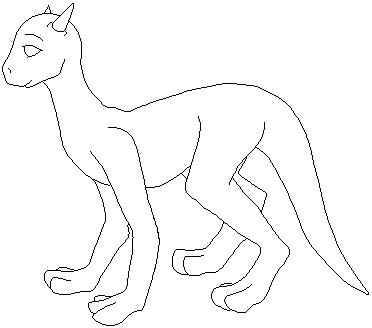
Next, click on Layers > New Raster Layer and click Ok when the little box pops up. Use the Flood Fill tool to fill in the parts of the creature that you want to shade. Only do one color at a time, though.
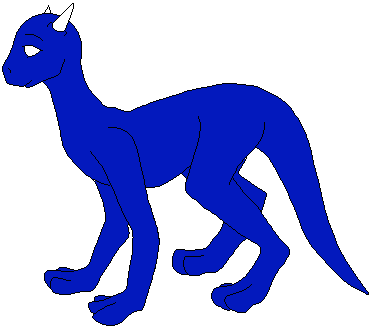
If you want to, you can add a texture to the creature ^_^ It makes things a lot more intersting. Get out your flood fill tool again, pick a color that goes well with the creature's body color (I used white) and set it as your first color choice. If you don't already have the tool options window out, go to View > Toolbars, and click on Tool Options Window. Click on the window (making sure you still have out the flood fill tool) and go down to the Paper Texture menu. Click on the arrow to pull it down and pick a texture you like. You can try them all out until you find something you like ^_^ I'm using Lands, but you can use almost all of them.
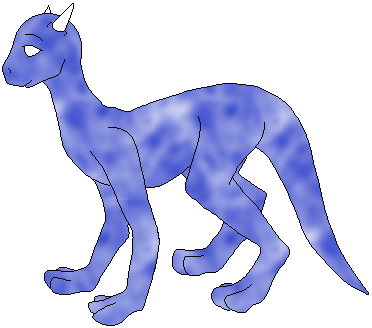
Now you want to go to Image > Effects > Inner Bevel. All I can really tell you with this is to play with it until you get the effect that you want, and remember, Smoothness is your friend. If you don't feel like playing, go agead and use the numbers I used for this picture :) Also, try looking through the Presets and adjusting them til you get what you want. Pillow is especially helpful. All you need to do is raise the Ambience, Shininess, and Intensity
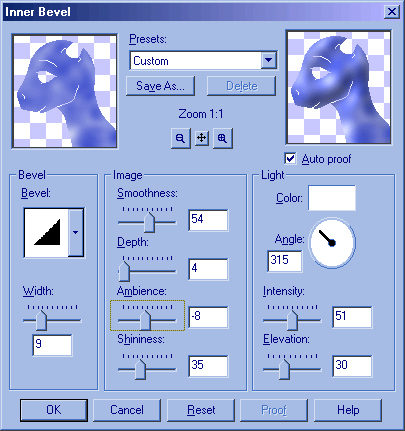
See? Isn't that nice?
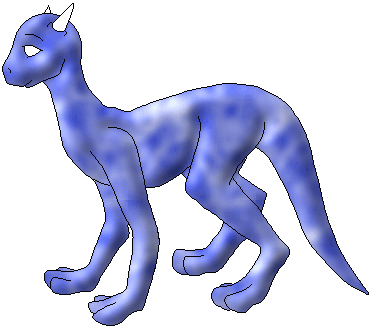
Now all you have to do is do the same thing with the other parts of the creature until you're finished! :) Very simple stuff.



This site has been visited