Tutorials
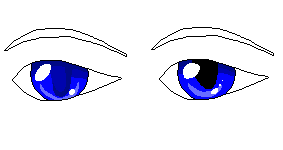
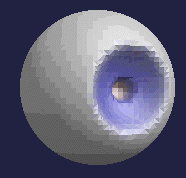
Eyes can be tricky object to draw and shade, especially when you don't really know how an eye works. Let me give you an example of what an eyeball truely looks like. As you can see, the eye is a ball (obviously ^_^). But what you might not normally know is that, where the iris (the colored part of the eye) is, it's indented, like the inside of a bowl, instead of a normal round ball. This means that the shadow will be on the top, and the highlighting will be on the bottom ^_^
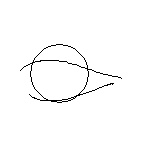
We'll get back to the strange shading after a while. First you want to start drawing the eye, right? I won't elaborate too much here, since there is a tutorial especially for drawing eyes. Obviously, you want to start with a circle. Some people like to start by just drawing the outline of the eye first, but I think this makes it easier for beginners, or those not so sure with their drawing ability.

Next, you just draw the top and bottom eyelids. How you draw these depends completely on your style and what kind of "feel" you want to give your character or creature. I'm going more for a realistic look here.
Next, you would connect the lines for the eyelids to create an outline (you don't have to do this, of course. Most characters in anime and manga don't have connected eyelid lines.). Erase the lines of the circle that you don't need, and if you want, you can draw a pupil (the dark part of the eye).
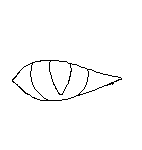
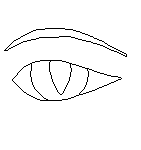
Next, you may want to just clean up the outline a little bit by making it one pixel wide. I also drew an eyebrow here, but you might not need to do this for some creatures ^_^
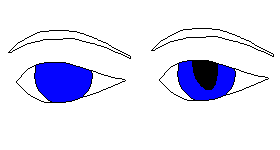
Alright, on to the fun part ^_^ I did two different versions here. Obviously, one with a black pupil, and one without a dark pupil. Just pick a nice color and fill in the round iris with it. Simple, huh?
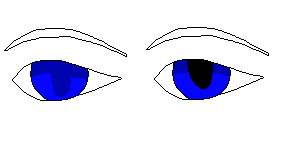
Now it's onto shading. Pick a color just a little darker than the iris color, and go draw an outline along the top of the eye for the shadow. Remember, this is that weird shading I was talking about, because the eye is line a bowl instead of an all round ball. Fill in the shadow with the fill tool from there, and if you're working on the pupilless eye, draw an oval for a pupil with the shadow color ^_^
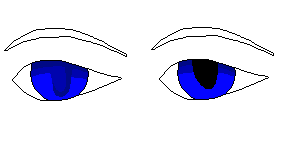
Next is pretty simple, too. Just pick an even darker color and draw another section of shadow inside the first shade. For the eye without the dark pupil, draw the second shade along the edge of the oval of the first shade ^_^ You could also do that down the middle of the oval, but I always find it looks much nicer when it's off to the side. Either way will do.
Now, onto highlighting. This time, pick a color that's lighter than the iris color, and just make a little arch of highlighting along the bottom of the eye. Try not to do too much, or it will begin to look very blocky and lose it's realistic look.
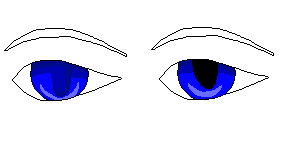
From here, you could also do another shade of highlighting inside of the first, but I thought this ee looked good with just one. ^___^ Onto the last step. Without this step, an eye just doesn't look as gem like as it would otherwise; the reflection, or light glare! This is very simple. Decide which way the light is coming from (from the left, in this picture) and get out your pen tool with white as your first color choice. Draw in ovals, circles, or even triangles with the white pen. Usually, the bigger spot of white is at the top of the eye (or where ever is closest to the light sorce) and another smaller spot or two on the opposide side on the bottom ^_^ Just be creative with this and do whatever looks best to you.



This site has been visited