Tutorials
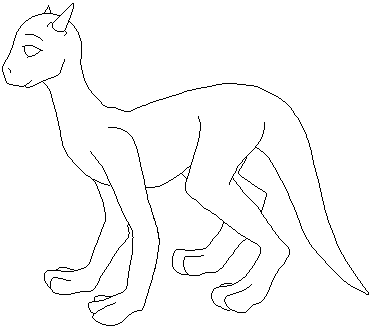
There are many beautiful things that you can create in MSPaint, so long as you are patient and have the general know how ^_^ As well as the believe that MSPaint isn't a silly program. If you know how to use it correctly, it can take you far! Now, this is a more complex drawing than the other one I did in MSPaint, and I can't promise yours will look eaxtly like this, but it will look nice, that's for sure ^_^ Just give it some time.
The first thing you want to do is open up MSPaint, or a program like it if you don't have that. Now pull down the lower right corner of the picture to make a square the size you want your critter to be. Don't worry if it's too big or too small, because you can always go back and change it later. THat's no problem.
Now, the first thing I like to do with any critter is to draw a cirlcle for the head where ever you want to place it. This is a good starting place, especially for beginners ^_^

Next, I like to draw a line for the neck coming down from the circle head, and a line for the back coming from the neck line. This is best done with the line tool (below the airbrush tool), but you can also do it with the pen or painbrush tool. The line tool is just easy to use because it makes such even, straight lines.
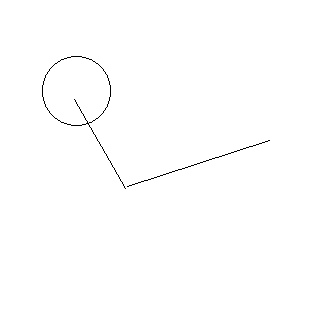
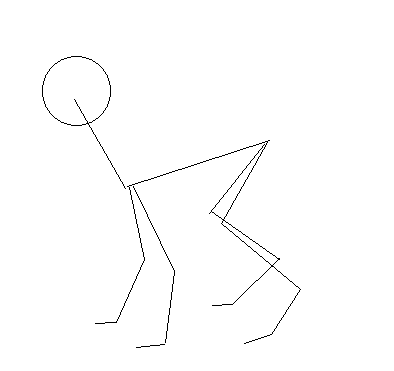
Remember that the lines your making don't have to be exact. These are just here to guide you later on, and can always be fix or changed if you feel the need. After doing the neck and back lines, it's a good idea to do some lines for the legs, too. They can be simple straight lines, or you can do them like I did, with all the joints, elbows, knees and feet there for you to see. It's up to you how much you want to be guided by the lines.
After that, I just added a curvy line for the tail with the curve tool (under the text tool). ^_^
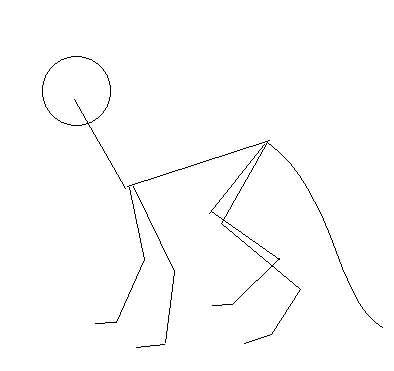
Now, this is where things might get a little tricky for you. Pick another color, preferably something bright and easy to see, get the line tool out again, and begin to make lines to flesh out your guide lines. There aren't any rules here that you have to follow, since all creatures look different. Just do some basic lines to help show you where the flesh of the body is, trying to make it look as real as you want it ^_^ If you need help figuring out where muscles are, take a look at your cat or dog or horse, or even hampster! That's why I do.
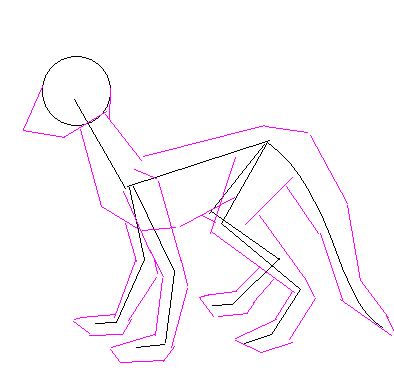
After you get that part done, all you have to do, really, is clean up the lines that you don't need with the eraser tool. don't worry about being perfect just yet, because you're still going to be working on it some. Just take out all those lines that make the picture look messy.
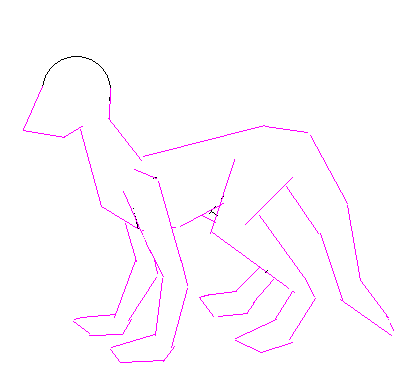
Here's a little trick you for. Go down to the color panel at the bottom of paint, pick the bright color you used for your first color choice (I used pink, remember ^_^), then pick black as your second choice (by right clicking on the color). Then, get out the eraser tool again, and hold in the right mouse button while going over the lines you made. All the pink will get turned into black, so you don't have to worry about having a critter with a pink outline ^_^
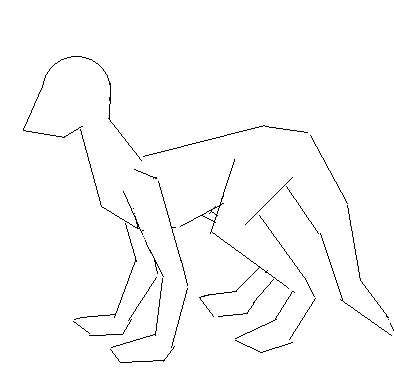
Again, here it gets a little tricky. Get out the pen tool with your bright color, and use those guide lines to make smooth, lifelike lines for your creature's outline. Make them nice and roundish, because nothing in nature is really that square. I can't tell you how to do this, to tell you the truth. It's something that you need to figure out on your own. Does it look right to you? If not, what could you do to it to make it look right? Try drawing over all the black lines. That'll make cleaning it up a lot easier.
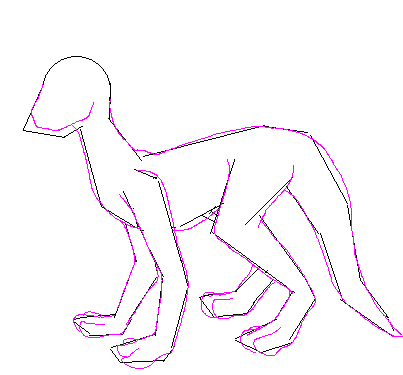
Once you're satisfied with your new lines, do the little eraser trick. Put black as your first color and white as your second, and right click over the black lines. Now all you're left with are the lovely pink lines you just drew!
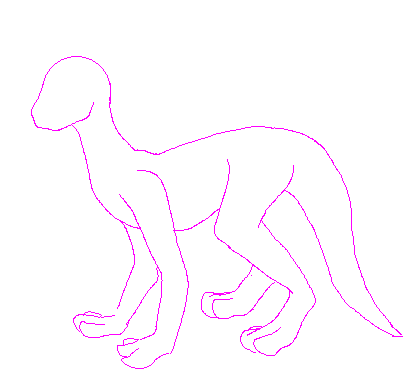
At this point, you can go ahead and change the color of the lines back to black (you should know how to do that by now ^_^), and look over your picture to see if there's anything you wnt to change. I noticed here that I only had half a back leg, hehe, so I took my pen tool and a little blue (to make things interesting) and drew in the missing leg. I also fixed a few other things, like the tail that was a little too fat and the foot that looked like someone ran over it. You can always fix and add things later on, so don't worry about being perfect all the time. Just have fun with yourself.
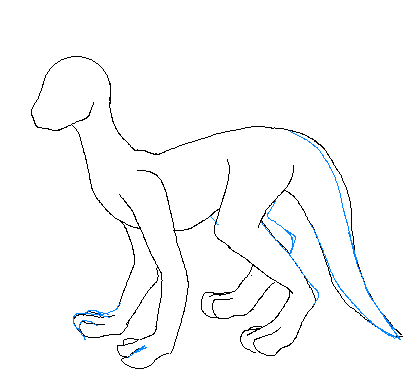
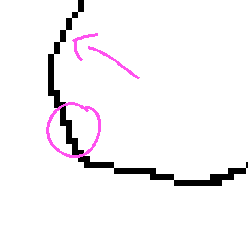
Again, change the blue back to black. Here is the part that will probably take you the longest to do, but it's always my favorite. This is when you begin to clean up your critter's lines. You can leave them just as they are if you want, but they look so much neater if they're all clean and shaven. What you do is magnify the picture as far as it'll go, take out your pen tool and white as your first color (or a really small eraser tool), and begin to "shave" orr extra pixels, so that all the lines are just one pixel wide. The arrow shows you how it should be, and the circle is how it shouldn't be.
When you're all done, this is what it'll look like! Lovely, isn't it? ^_^
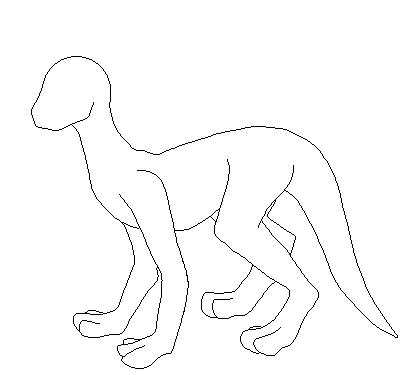
Of course, from here, just add the little parts of the critter that makes it what it is. Eyes, mouth, nose, horns, spikes, markings, whatever you like. It's up to you! Now, see, that wasn't so hard, was it?


This site has been visited