Tutorials
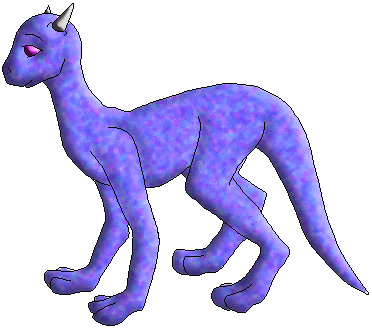
Across the internet, you've probably run into a handful of really nice looking cyberpets with shading that looks a lot like this here. The amazing thing about it is that this shading is about the easiest thing in the world to do, so long as you know how to do it ^_^ So I thought I would show you how it's done
First, you're going to need PhotoShop. If you happen to only have PSP, check out the PSP version of this tutorial :) If you have any other paint program, I really can't help you, because these are the only two that I have that I know can do this trick. But read it anyway. You might find a way to do the same thing with your program ^_^ Anyway, let's open our picture up. So long as it has a nice solid outline, anything will work. If you're using a .gif image, make sure you click on Image > Mode > RBG Color, or else your color isn't going to look right.
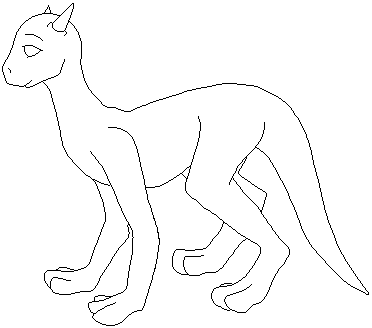
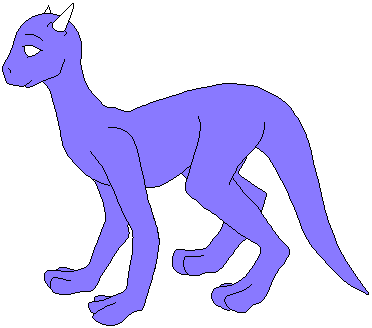
Now, use the paint bucket tool (the same button as the gradient tool, just hold it down til the little menu pops down and pick paint bucket tool) to fill in the part of the creature you want to shade. Leave out any part that is going to be a different color! Next, take the magic wand tool (second down on the right) and click on the color you just filled it. It should select all the color for you ^_^ Go to Edit and click on cut, and then go to Layer > Layer and click on new layer. Now just paste the color you cut and line it up with the outline.
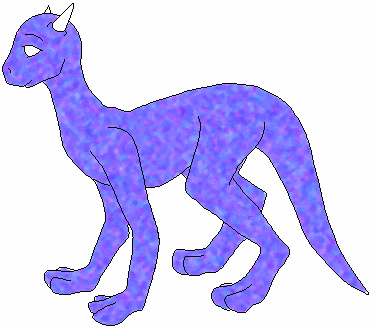
This isn't something you have to do, but it really makes a picture look interesting. Pick a nice color that would go well with the color of the creature (I picked purple to go with my blue) and set it as your second color choice, making sure the creature's color is the first color choice. Now go to Filter > Texture > and then Grain. At the bottom you'll see a little box with words in it. Pull it down with the arrow and look through the different sorts of texture. I used Contrasty grain for this image. Don't be afraid to use any of the other textures, either. Filter > Texture > Texturizer has some nice textures ^_^ As well as Filter > Sketch > Reticulation
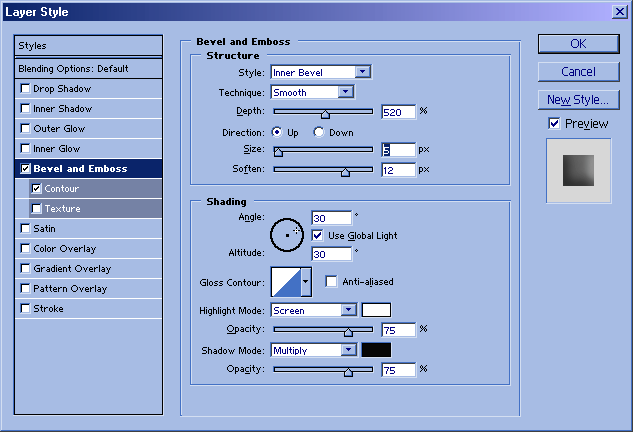
This next step is the most important one, and the one that might take the most time. Don't worry though! It's all really easy. Now, go to Layer > Layer Styles and then click on Blending Options. A box should pop up with lots of options. You can do a bunch of different things to the image with all these options, but for right now, we'll do the easy stuff. Click on the words Bevel and Emboss, and it will take you to the options you want. If you look at the image the way it is right now, it looks kind of squarish and flat, right? To fix this, first move the bar that says Soften on it to the right. This will soften the edges so they're not so hard. Next, move the Depth bar over to the right some as well. Somewhere around 360 or 520. If it still looks flat, move over the size bar just a tiny bit. Maybe to 6 or 7. Last, move the soften bar over more until it's as smooth as you want it to look.
Here are the numbers that I used if you want to use them instead of finding your own. I also clicked on the Contour box which makes it a little darker, but you don't have to. Play with the options and find soemthing that you like ^_^ The possibilities are endless.
Here is what your creature should look like after you're finished doing all of that. If it doesn't look right to you, just go back to Layer > Layer Styles > Blending Options and play with the Bevel and Emboss options some more until it's just right.
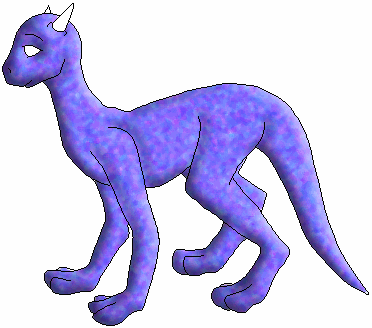
Lastly, do the same thing for the other areas that need to be colored (with or without the texture) and before you know it, you'll have a lovely, colored, textured, and shaded creature! Easy, huh?



This site has been visited